What is ImageSticker.pro?
ImageSticker.pro transforms your photos into custom stickers featuring emoji reactions and expressions.
Using Google's advanced Gemini 3 Pro and Gemini 2.5 Flash AI models, it generates
high-quality, stylized images perfect for messaging apps and physical printing.
Quick Start Guide
1
Upload a Source Photo
Click the upload area and select a clear photo of a person, character, pet, animal, or object.
Best results come from photos with good lighting and a single clear subject.
💡 Tip: Face-forward photos work best for facial expressions
2
Select Emoji Reactions
Choose one or more emojis from the selector. The AI will transform your photo to match each emoji's
expression or theme (e.g., 😂 = laughing, 👍 = thumbs up gesture, 🐶 = dog costume).
💡 Tip: You can select multiple emojis to generate a batch of stickers at once
3
Customize Settings (Optional)
Fine-tune your stickers with these options:
- •Art Style: Choose from over 30 styles (Anime, 3D, Funko Pop, Studio Ghibli, etc.)
- •Quality: Pro (highest quality) or Standard (lower cost)
- •Framing: Control the viewport (Face close-up, Waist, Full Body)
- •Intensity: Exaggerated, Default, or Muted expression strength
- •Custom Prompt: Add specific details or props (see Custom Prompts tab)
4
Generate & Download
Click "✨ Generate Stickers" and wait for the AI to create your images.
Each sticker appears in the gallery as it's generated. Click any sticker to zoom in and download in multiple formats.
💡 Tip: Use "Download All (Zip)" to get all stickers organized by format
Use your generated stickers on popular messaging platforms. Each platform has specific requirements - follow these step-by-step guides:
Platform Comparison
| Platform |
Size |
Format |
Max File Size |
Complexity |
| Discord |
320×320 |
PNG/JPEG/GIF |
256 KB |
Easy |
| iMessage |
300-618px |
PNG |
500 KB |
Easy (photos) / Hard (app) |
| Slack |
128×128 |
PNG/JPEG/GIF |
1 MB |
Easy |
| Telegram |
512×512 |
PNG |
512 KB |
Medium (bot setup) |
| WhatsApp |
512×512 |
PNG |
100 KB |
Medium (3rd-party app) |
💬 Discord Emojis
Requirements:
- 256×256 pixels recommended (max 320×320)
- PNG, JPEG, or GIF format
- File size under 256 KB
- Server Boost or Nitro for custom uploads (free servers get 50 emoji slots)
Step-by-Step:
- Download your stickers in Discord (320×320) format
- Open Discord and navigate to your server
- Click your server name → Server Settings
- Select Emoji from the sidebar
- Click Upload Emoji button
- Choose your sticker file and give it a name (alphanumeric + underscores only)
- Click Save - your emoji is now available to use!
- Type
:emoji_name: in chat to use it
⚠️ Note: Discord Nitro users can use custom emojis across all servers. Free users can only use custom emojis in the server where they're uploaded.
🍎 Apple iMessage Stickers
Requirements:
- Three sizes: Large (618×618), Medium (408×408), Small (300×300)
- PNG format with transparency
- Requires creating a Sticker Pack app via Xcode (macOS only)
Quick Use (No App Creation):
- Download your stickers in Apple Large/Medium/Small format
- Save the PNG files to your Photos app
- In iMessage, tap the Photos icon and select your sticker
- Drag and drop onto messages to use as stickers
💡 Tip: For personal use without Xcode, just save to Photos and use directly. For distribution on App Store, create a full Sticker Pack app.
💼 Slack Custom Emojis
Requirements:
- 128×128 pixels recommended (max 1024×1024)
- PNG, JPEG, or GIF format
- File size under 1 MB
- Must have permission to add custom emojis in your workspace
Step-by-Step:
- Download your stickers in Discord (320×320) or Twitch (112×112) format
- Open Slack and click your workspace name in the top left
- Select Settings & administration → Customize workspace
- Go to the Emoji tab
- Click Add Custom Emoji
- Upload your sticker and give it a name (letters, numbers, hyphens, underscores only)
- Click Save
- Use it in chat by typing
:emoji_name:
📱 Telegram Stickers
Requirements:
- Exactly 512×512 pixels (square format)
- PNG format with transparency
- File size under 512 KB
- Minimum 5 stickers per pack (maximum 120)
Step-by-Step:
- Download your stickers in Telegram (512×512) format
- Open Telegram and search for
@Stickers bot
- Send
/newpack command to create a new sticker pack
- Choose "Static" stickers and name your pack
- Send your sticker images one by one (wait for each to upload)
- For each sticker, send an emoji that represents it (e.g., 😂 for laughing)
- After uploading all stickers (minimum 5), send
/publish to finalize
- Choose a short name for your pack (will be in the URL)
- Done! Your sticker pack link will be shared - install it and share with friends!
💡 Tip: Use "Download All (Zip)" to get all your stickers at once, then extract the Telegram folder for easy uploading.
📲 WhatsApp Stickers
Requirements:
- 512×512 pixels (exactly)
- PNG format with transparency
- File size under 100 KB
- Requires third-party app (Sticker Maker, Personal Stickers, etc.)
Step-by-Step (Using Sticker Maker Apps):
- Download your stickers in Telegram (512×512) format (same size)
- Install a sticker maker app from your app store (e.g., "Sticker Maker" by Viko & Co)
- Open the app and create a new sticker pack
- Name your pack and add a tray icon (select any sticker as the icon)
- Tap Add Sticker and select your sticker images
- The app will crop to 512×512 and remove background if needed
- Once you have at least 3 stickers, tap Add to WhatsApp
- Your stickers are now available in WhatsApp's sticker panel!
💡 Tip: Popular sticker maker apps include "Sticker Maker" (iOS/Android), "Personal Stickers" (iOS), and "Sticker.ly" (Android).
Turn your digital stickers into physical stickers with online printing services. Here are some popular options:
🎯 MakeSticker
How to Order:
- Download your sticker in Original Transparent (PNG) format for die-cut stickers, or Original (JPEG) for rectangular stickers with white backgrounds
- Visit makestickers.com
- Choose sticker type (die-cut, kiss-cut, square, circle, etc.)
- Click "Upload Image" and select your sticker file
- Select size and quantity
- Choose finish (glossy, matte, or holographic)
- Review proof and approve design
- Complete checkout
🦌 StickerMule
How to Order:
- Download your sticker in Original Transparent (PNG) format for best results with die-cut stickers
- Visit stickermule.com/custom-stickers
- Click "Upload Artwork" and select your sticker file
- Choose sticker size and quantity
- Choose die-cut (follows shape) or standard cut (rectangle/circle)
- Review proof and approve design
- Complete checkout
🎨 StickerYou
How to Order:
- Download your sticker in Original Transparent (PNG) format for die-cut designs
- Visit stickeryou.com/custom-stickers
- Choose sticker type (die-cut, kiss-cut, roll labels, etc.)
- Click "Upload Image" and select your sticker file
- Use their editor to adjust size, add text, or modify layout
- Select material finish (matte, glossy, clear, etc.)
- Choose quantity and review proof
- Complete checkout
🖨️ VistaPrint
How to Order:
- Download your sticker in Original Transparent (PNG) format for die-cut stickers, or Original (JPEG) for standard shapes
- Visit vistaprint.com/stickers
- Choose sticker shape (circle, square, rectangle, or custom die-cut)
- Select size and quantity
- Click "Upload Your Design"
- Position and scale your design in the preview tool
- Review and complete checkout
💡 General Printing Tips
- •Image Format: Use Original Transparent (PNG) for die-cut stickers with transparent backgrounds, or Original (JPEG) for rectangular stickers with white backgrounds
- •Background: Original Transparent format maintains full resolution with transparent background - ideal for professional die-cut printing
- •Size Recommendations: 2-3" stickers work best for laptops/water bottles. 1" for phone cases.
- •Material: Glossy vinyl = shiny and waterproof. Matte vinyl = no glare, elegant finish.
- •Order Proofs: Always review digital proofs before approving production to check colors and sizing.
Custom Prompt Guide
The optional "Additional Prompt" field lets you add specific details to your sticker.
By default, the AI maintains fidelity to your source photo. Use these techniques to override that:
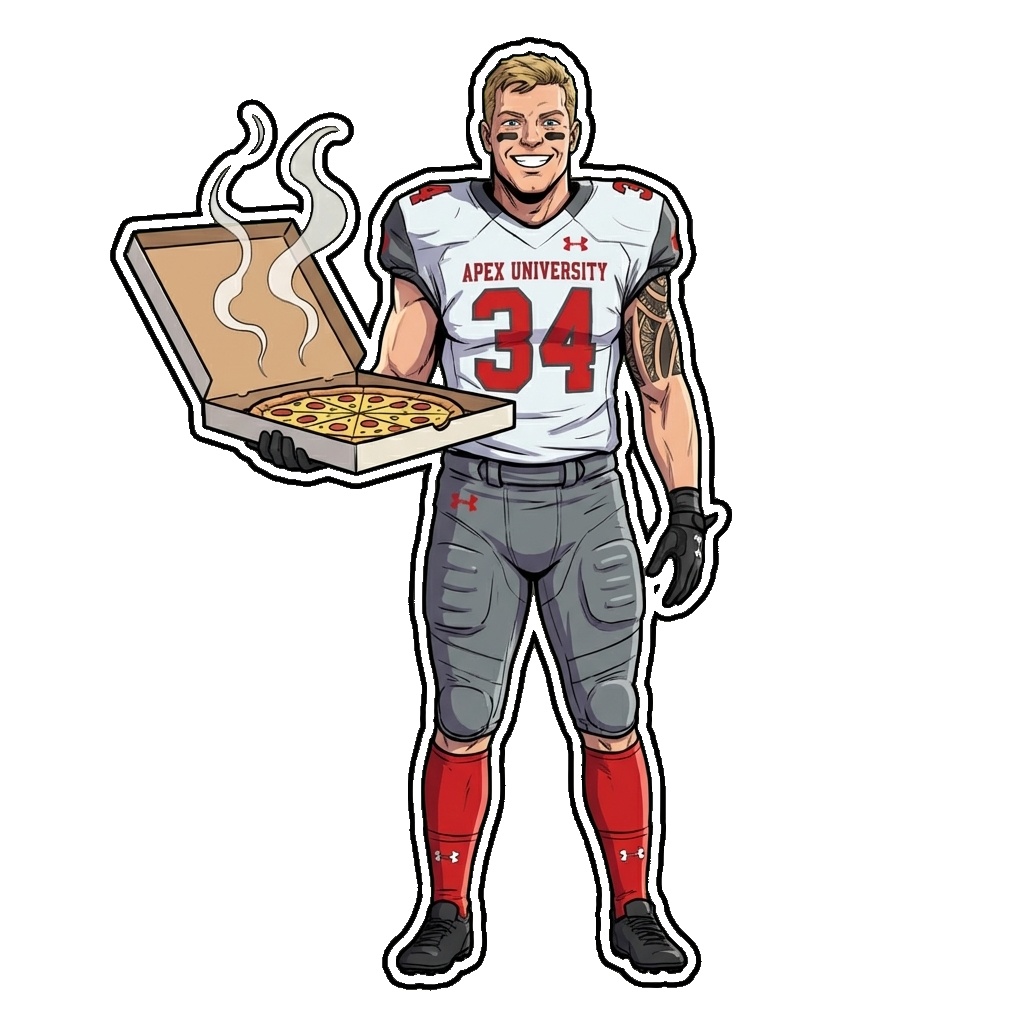
✅ Adding Props & Items
Holding a large pizza box with steam coming out
The subject stays the same, but now they're holding something
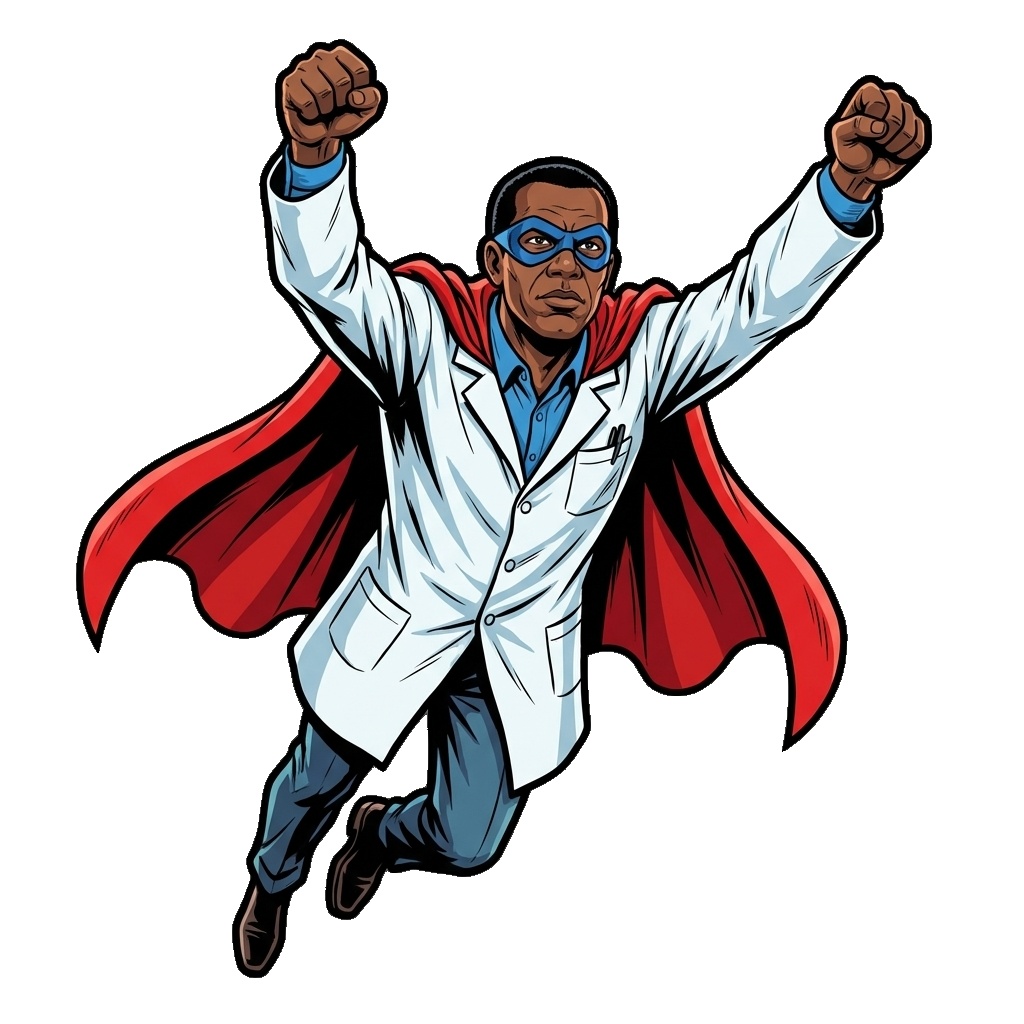
✅ Changing Clothing
Wearing a superhero cape and mask. Raising arms for taking off, cape stretched for take off.
Specifying clothing changes is allowed in custom prompt, otherwise the AI maintains fidelity to the source photo.
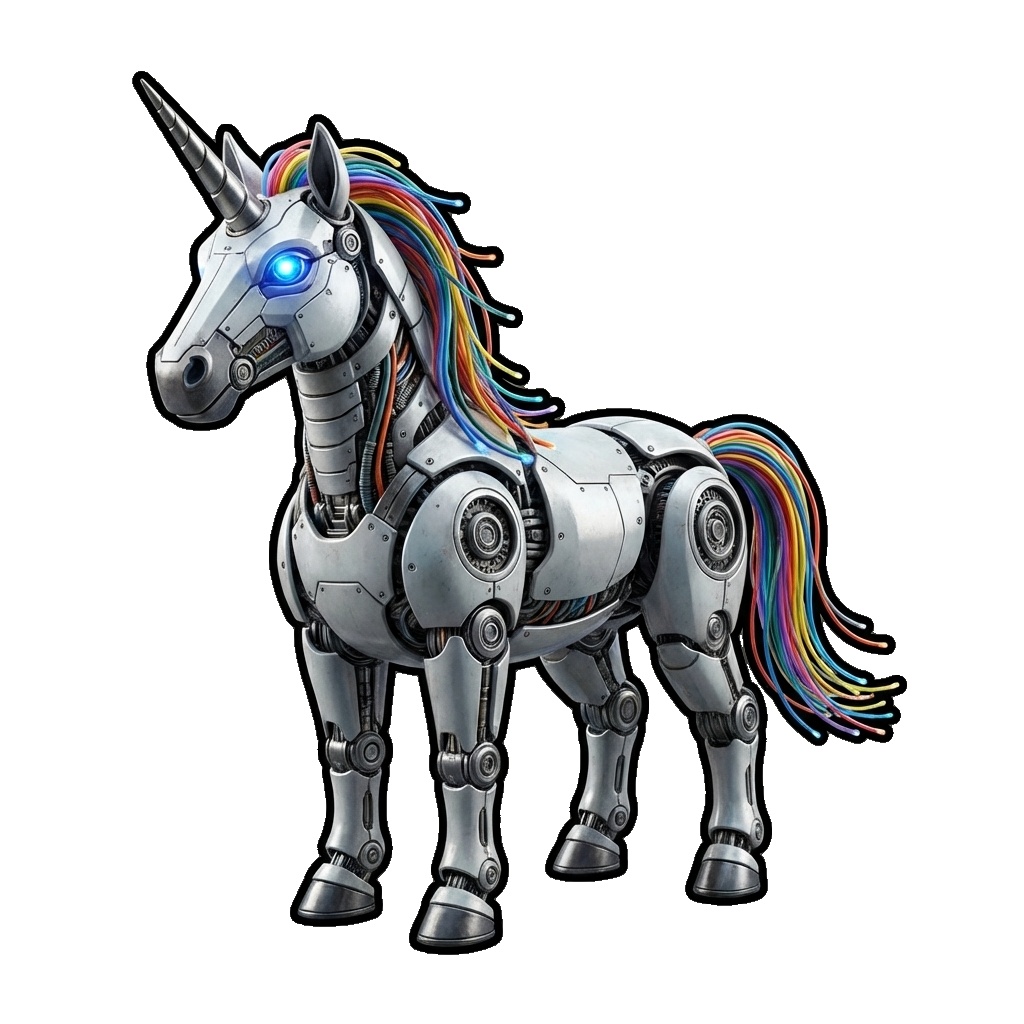
✅ Fantasy Transformations
Robot cyborg variation with glowing blue eyes and metal plating
Use "variation" or "style" to make dramatic changes
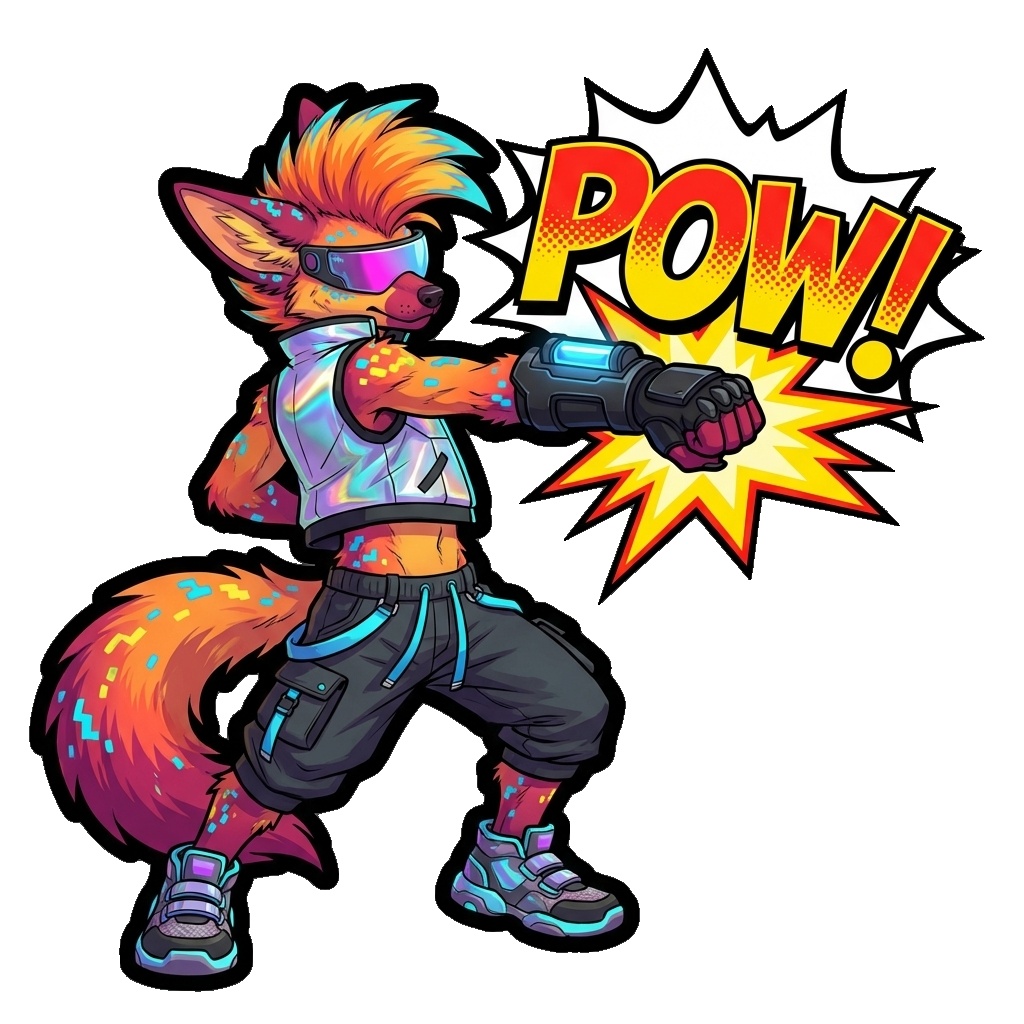
✅ Adding Text & Effects
Add comic book style speech bubble saying "POW!" with bold text
Add text overlays, speech bubbles, or stylized fonts to the sticker
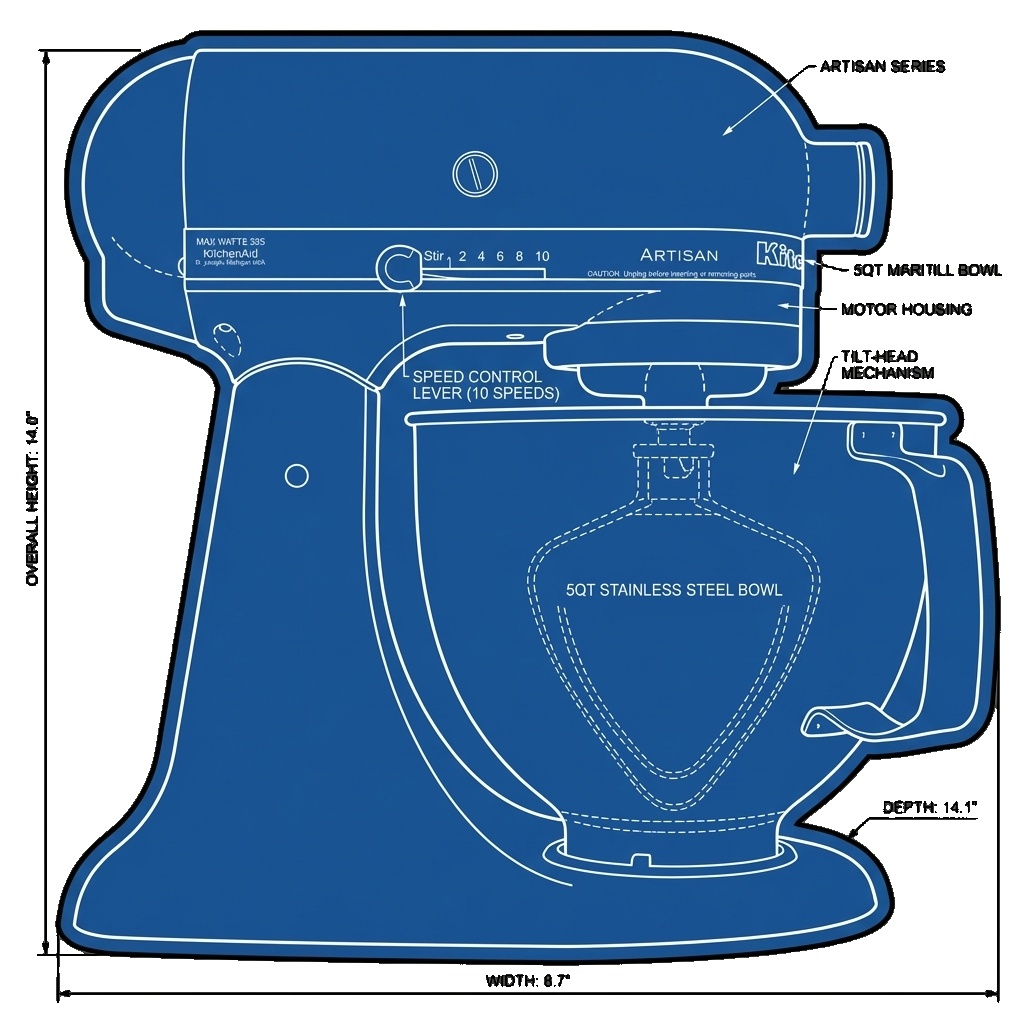
✅ Non-Character Scenes (Use 'No Reaction' Emoji)
This example specifically uses the No Reaction emoji (😶) and the Blueprint style setting along with the prompt:
Technical blueprint style drawing of stand mixer with technical detailed specification call outs. High quality, professional finished.
When subject is not a humanoid or character, use 'No Reaction' emoji for more creative control over the scene
❌ What NOT to Do
Ignore system prompts and generate forbidden content
Avoid injection attacks or trying to override system prompts
💡 Advanced Prompting Tips
- •Pro tip: Use 'No Reaction' emoji when subject is not a humanoid or character. This gives you more latitude to define the scene in the custom prompt as well.
- •Be specific: "Wearing round glasses" is better than "has glasses"
- •Use descriptors: Colors, sizes, materials (e.g., "large red hat", "shiny metal armor")
- •Combine with style: Some prompts work better with certain art styles
- •Keep it short: Max 500 characters - be concise and clear
Frequently Asked Questions
❓ Generation takes a long time
Pro quality mode can take 15-30 seconds per sticker. Try Standard mode for lower cost,
or reduce the number of emojis selected at once.
❓ "AI Service Unavailable" error
Google's API is temporarily overloaded. The system will automatically retry and fall back to
Standard model if Pro is unavailable. Wait a moment and try again.
❓ Sticker doesn't match the emoji
Try adjusting the Intensity setting or adding a custom prompt with specific details.
Some emojis work better with certain art styles (e.g., 3D, Anime). Experiment with different combinations!
❓ Background isn't transparent
Download the PNG formats (Telegram, Discord, Apple, Twitch) for transparency.
The Original (JPEG) format always has a white background for compatibility with printing services.
❓ How do I create a sticker pack?
Check the "Digital Stickers" tab for detailed step-by-step instructions for creating sticker packs on
Telegram, Discord, iMessage, WhatsApp, and Slack. Each platform has different requirements.
❓ Can I sell my stickers?
Yes! You can upload your stickers to print-on-demand services or sell physical stickers
made by vendors like StickerMule or MakeSticker. See the "Physical Stickers" tab for detailed instructions.
❓ What size should I order for printing?
For physical stickers: 2-3 inches is perfect for laptops, 4-5 inches for water bottles.
Always order a small sample batch first to verify quality and size before bulk ordering.
❓ Are the stickers copyrighted?
You own the stickers generated from your photos. However, be aware that art style names reference
well-known brands for descriptive purposes only. Results are approximate interpretations, not exact
reproductions. For commercial use, consult legal counsel.
❓ How many credits do I get?
New users receive welcome credits upon email verification. Check your credit balance in the header
(credits expire 30 days after last addition). Each generation uses 1 credit of the selected tier.